 Pin It
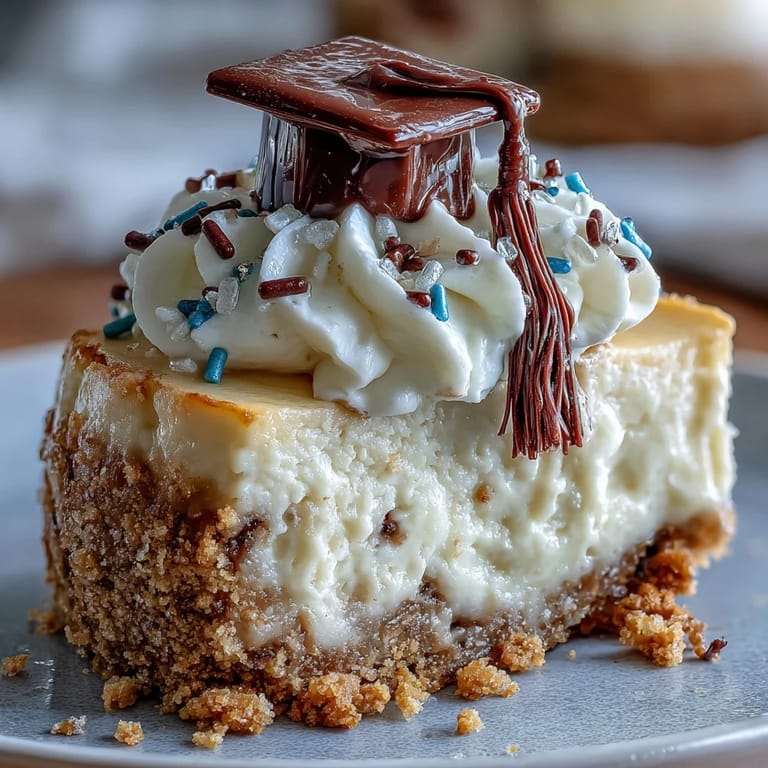
 The scent of cream cheese and butter swirling together always takes me back to the time I first made these cheesecake bites—music in the background, measuring cups clattering, and more than a few stray crumbs on my countertop. There was a certain playfulness to the process, especially as I pressed the crust down with the back of a spoon, marveling at how something so simple could turn into such a delight. Making these for a graduation party felt almost ceremonial; I caught myself humming along and sneaking a taste before the guests arrived. They're the kind of treat that promises smiles even before you take the first bite. There’s a secret joy to seeing the trays disappear faster than you can set them out.
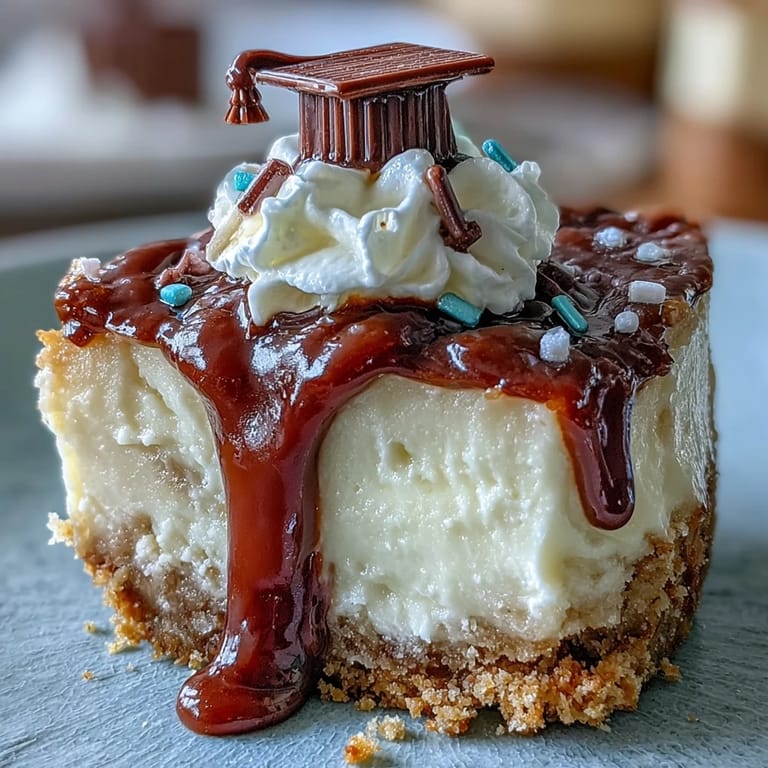
One time, my cousin’s graduation ran late and I had just fifteen minutes to dress up these mini cheesecakes before guests poured in. I remember piping whipped cream with wobbly hands while my niece delicately placed chocolate “caps” on top, her laughter echoing through the kitchen. Even a few uneven swirls sparked delighted grins from the family as we set out our hasty masterpieces. There was genuine fun in the flurry, and the bites vanished almost instantly. That day taught me perfection isn’t required—just enthusiasm and a bit of teamwork.
Ingredients
- Graham cracker crumbs: The classic crust secret—go for finely ground crumbs for compact layering and that signature buttery snap.
- Granulated sugar: Not just for sweetness, but to help the crust bind and the filling stay silky.
- Unsalted butter: Melted, it’s what brings the crust together and carries the flavor; be sure not to overheat, just until melted and glossy.
- Cream cheese: Softened to room temp is a lifesaver—no clumps, just pure creamy texture every time.
- Eggs: Add smoothness and lift; crack them in one at a time to keep the batter light.
- Pure vanilla extract: Just a little transforms the flavor and brings brightness to each bite.
- Sour cream: Adds gentle tang and keeps the filling heavenly, not dense.
- Salt: Such a pinch, but it makes the creamy flavors shine.
- Whipped cream, sprinkles, berries, or graduation cap candies: Toppings become the celebration—get creative, and it doubles as a fantastic group activity.
Tired of Takeout? 🥡
Get 10 meals you can make faster than delivery arrives. Seriously.
One email. No spam. Unsubscribe anytime.
Instructions
- Prep Your Gear:
- Preheat your oven to 325°F (160°C) and line a 24-cup mini muffin pan with bright paper liners for a festive touch.
- Mix and Press the Crust:
- In a bowl, combine graham cracker crumbs, sugar, and melted butter; press a spoonful into each liner, making sure to tamp down for a sturdy base.
- Quick-Bake the Crust:
- Slide the pan in for just 5 minutes—your kitchen will start to smell like toasty caramel as the crusts firm up.
- Whip the Cheesecake Filling:
- Beat cream cheese until smooth and lump-free, add sugar, then eggs one by one, followed by vanilla, sour cream, and that essential pinch of salt; blend until just combined.
- Fill and Bake:
- Spoon the creamy batter over crusts, filling nearly to the top, and bake 13 to 15 minutes until the centers have a gentle wobble.
- Cool Things Down:
- Let cheesecakes rest in the pan for 10 minutes, then transfer to a wire rack and cool completely before chilling them in the fridge for at least 30 minutes.
- Decorate and Serve:
- Right before the party starts, crown each bite with whipped cream, fresh berries, or your own DIY chocolate graduation caps.
 Pin It
  Pin It
 When we brought out the platter during my little brother’s graduation brunch, everyone paused for a moment—not just for a photo, but because those tiny cakes had become a symbol of our private celebration. The laughter around the table, stories swapped over creamy bites, and the collective pride in his accomplishment made these treats more than just dessert—they marked a milestone we’d remember every time we baked together afterward.
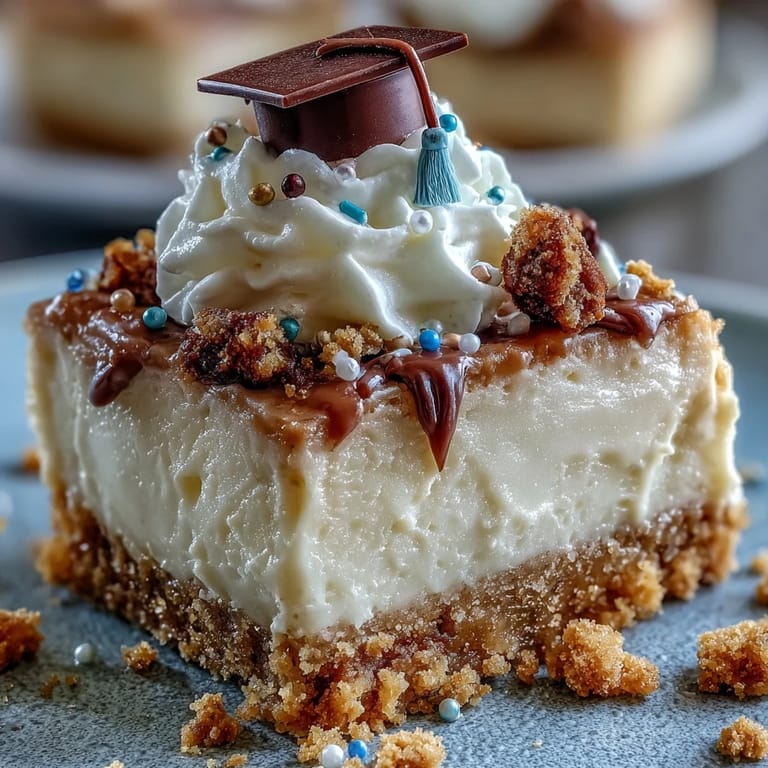
Make It Your Own: Toppings and Decorations
There’s a kind of kid-in-a-candy-store excitement that comes from choosing toppings and creating edible “caps” out of chocolate squares and licorice strings. Sometimes we sprinkle on rainbow jimmies for a seriously festive touch or tuck a plump raspberry on top of each swirl of cream. Inviting everyone to add their own finishing touch transforms dessert time into a mini graduation craft session, which is half the fun. Keep extra sprinkles and chocolate bits on hand for creative minds—you never know what creation will steal the show. If nothing else, you’ll have colorful fingers and lots of laughter to go around.
Tips for Foolproof Mini Cheesecakes
After a few rounds of cheesecake-making, I’ve learned to embrace the little details that guarantee success. Be sure to use paper liners—cleanup is nearly effortless, and you won’t lose a single bite to sticking. Resist opening the oven during baking so the tops stay smooth. If your kitchen is extra warm, chill the mixing bowl too to keep the filling firm. And if you forget to set a timer (I’ve been there), look for that faint wiggle in the center instead. All these touches add up to cheesecake bites that look and taste like you’ve been making them for years.
Planning Ahead for Parties
Mini cheesecakes are party superheroes: you can bake them a day before, freeing you up for the decorations and playlist. Store them in the fridge without toppings and garnish just before serving so they look their best. They travel well in their muffin liners and brighten up any dessert table—just remember to set one aside for yourself if you want a taste.
- Add toppings right before serving to keep everything fresh.
- Try chocolate cookie crumbs in place of graham for a flavor twist.
- Don’t forget to take a photo—the decorations rarely stay undisturbed for long.
 Pin It
  Pin It
 Cheesecake bites have become my go-to for special occasions and quick celebrations alike. Here’s to baking memories, bite by creamy bite!
Recipe FAQs
- → How do I prevent the minis from cracking?
Avoid overmixing the batter and bake until centers are just set with a slight jiggle. Let them cool gradually in the pan before moving to a rack and chilling; that helps prevent cracks.
- → Can I swap the graham crust for something else?
Yes — chocolate cookie crumbs, shortbread, or crushed butter cookies work well. Press crumbs firmly and bake briefly to set the base before adding the filling.
- → What’s the best way to chill and store them?
Chill the bites in the refrigerator for at least 30 minutes to firm up. Store covered for up to 2 days; add whipped toppings just before serving to keep decorations fresh.
- → Can these be made ahead of time?
They hold well when made a day ahead—refrigerate without delicate toppings and add whipped cream, sprinkles or berry garnishes right before serving.
- → How can I make them gluten-free?
Use certified gluten-free cookie crumbs in place of graham crackers for the crust and verify any decorative toppings are gluten-free labeled.
- → Is there an alternative to an electric mixer?
You can whisk the filling by hand; beat the cream cheese first until smooth, then fold in sugar, eggs and sour cream gently to avoid overworking the batter.