 Pin It
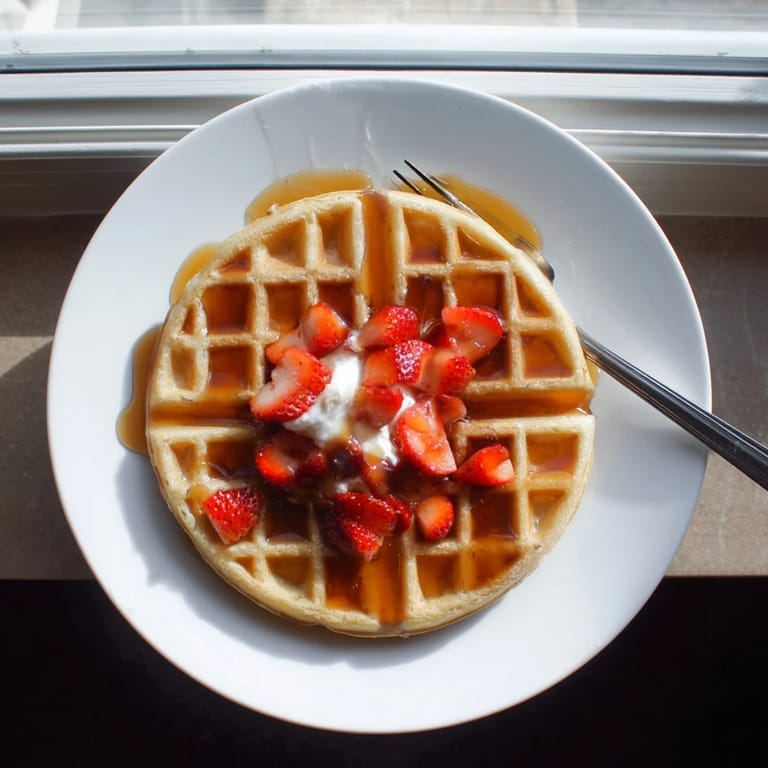
 The Saturday morning I finally invested in a proper waffle iron changed everything about our weekend breakfast routine. My youngest daughter had been begging for waffles for months, and the boxy frozen ones just were not cutting it anymore. That first batch emerged golden and impossibly crisp, smelling like vanilla and warm butter. Something about the ritual of pouring batter and waiting for that little indicator light made the kitchen feel extra cozy that day.
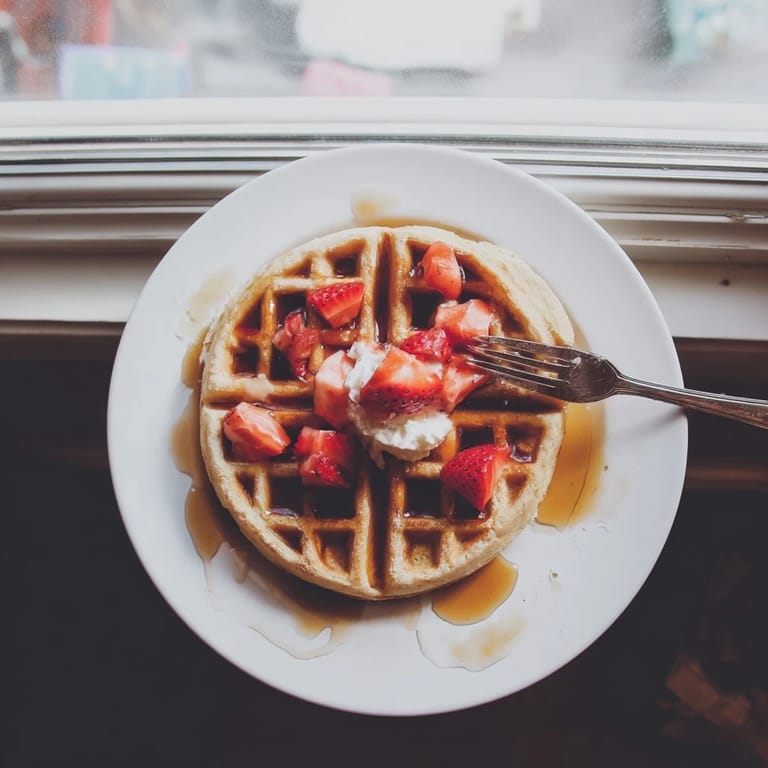
Last Sunday, my sister stayed over and we made a double batch while the coffee brewed. The kids were still sleeping, so we stood at the counter eating them straight off the wire rack, burning our fingers slightly but not caring one bit. She told me she had not had homemade waffles since our grandmother made them when we were little. Now she wants her own waffle iron.
Ingredients
- 2 cups all-purpose flour: The backbone of your waffle, giving structure without being too heavy
- 2 tbsp granulated sugar: Just enough to help with browning and add a hint of sweetness
- 1 tbsp baking powder: This is what creates those lovely pockets inside the waffle
- ½ tsp salt: Enhances all the flavors and balances the sweetness
- 2 large eggs: Provides structure and helps bind everything together beautifully
- 1¾ cups whole milk: Creates a tender crumb, though buttermilk works wonderfully too
- ½ cup unsalted butter, melted and cooled: Adds incredible flavor and helps with that crisp exterior
- 1 tsp pure vanilla extract: Never skip this, it makes the kitchen smell amazing
Tired of Takeout? 🥡
Get 10 meals you can make faster than delivery arrives. Seriously.
One email. No spam. Unsubscribe anytime.
Instructions
- Preheat the waffle iron:
- Get it nice and hot according to your machines instructions, usually a little light will tell you when it is ready
- Whisk the dry ingredients:
- In a large bowl, combine the flour, sugar, baking powder, and salt until well blended
- Mix the wet ingredients:
- In another bowl, whisk together the eggs, milk, melted butter, and vanilla until completely combined
- Combine the mixtures:
- Pour the wet ingredients into the dry and stir gently until just combined, some lumps are perfectly fine
- Cook the waffles:
- Lightly grease the iron, pour batter to just cover the grid, close the lid and cook for 3 to 5 minutes until golden
 Pin It
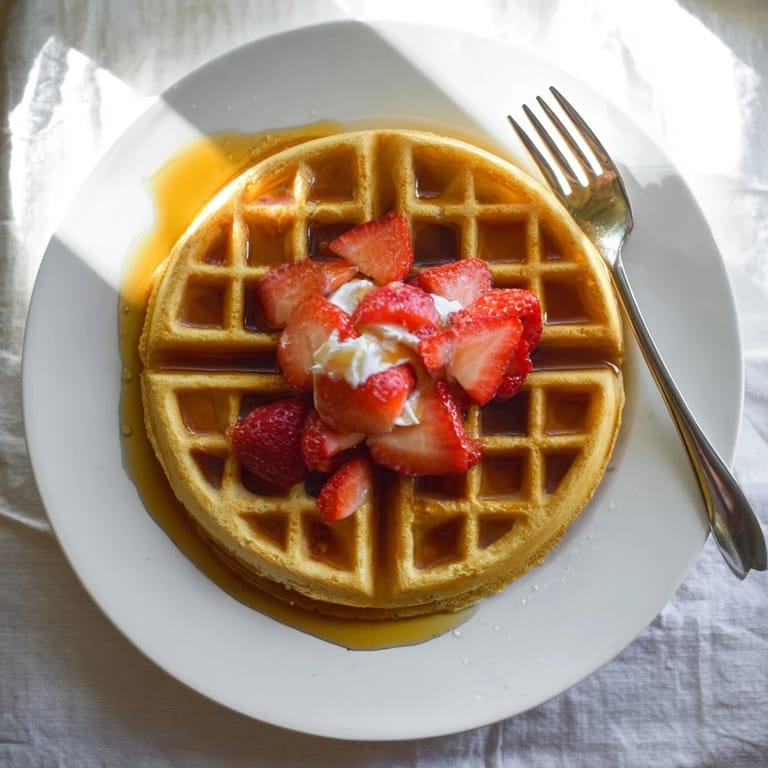
 My husband accidentally used pancake batter in the waffle iron once, and while it worked, the texture was completely different, more dense and less crisp. The higher fat content from the butter in this recipe is what really makes waffles special compared to pancakes. Now he understands why I insist on following the recipe exactly.
Getting That Perfect Crisp
One discovery that transformed my waffle game was placing cooked waffles on a wire cooling rack instead of stacking them. The air circulation keeps them crisp on all sides instead of getting soggy where they touch each other. It is such a simple trick but makes such a difference.
Making Them Your Own
Sometimes I fold fresh blueberries into the batter or add a pinch of cinnamon for warmth. My neighbor adds cocoa powder for chocolate waffles that her kids go absolutely crazy for. The base recipe is incredibly forgiving and welcomes all sorts of variations.
Storage and Meal Prep
When we have leftover batter or make a double batch, I cook all the waffles and freeze them in a single layer on a baking sheet before transferring to a freezer bag. They reheat beautifully in the toaster and taste just as good as fresh. Having homemade waffles ready on busy weekday mornings feels like a special treat.
- Let them cool completely before freezing to prevent ice crystals
- Reheat in a toaster, not the microwave, for best texture
- They stay good in the freezer for up to two months
 Pin It
 There is something so satisfying about hearing that waffle iron click open and revealing those perfect golden grids. It never fails to make me smile, no matter how many times I make them.
Recipe FAQs
- → Why are my waffles not crispy?
Waffles lose crispness when stacked hot, trapping steam. Let them rest on a wire rack immediately after cooking. Ensure your waffle iron is fully preheated and cook until deep golden brown. Adding a bit more butter or using buttermilk can also enhance crunch.
- → Can I make the batter ahead of time?
For best results, cook waffles immediately after mixing the batter. The leavening agents start working right away, and resting too long can affect texture. However, you can mix dry ingredients and wet ingredients separately the night before, then combine just before cooking.
- → What makes waffles fluffy inside?
The combination of baking powder and proper mixing technique creates fluffiness. Whisking wet ingredients thoroughly incorporates air, while gently folding them into dry ingredients prevents gluten development. Don't overmix—a few lumps are perfectly fine and contribute to tender results.
- → Can I substitute whole milk?
Yes, buttermilk adds tang and tenderness, while almond or oat milk work for dairy-free versions. Keep in mind that fat content affects richness—whole milk creates the most tender crumb. Low-fat milk alternatives may yield slightly less fluffy waffles.
- → How do I store and reheat leftover waffles?
Cool completely on a wire rack, then freeze in a single layer before transferring to freezer bags for up to 2 months. Reheat in a toaster for crispy edges or microwave for 30-60 seconds if you prefer softer textures. Avoid refrigerating as it makes them soggy.
- → Why is my waffle batter too thick or thin?
Batter consistency depends on flour absorption and humidity. It should flow slowly from a spoon but not be runny. If too thick, add milk one tablespoon at a time. If too thin, sprinkle in flour gradually. Letting thick batter rest 5 minutes can also help hydrate flour properly.